What is the Best DIY Leather Repair Kit on the Market?
Oops. Your favorite leather couch just got attacked by the cat, scraped by a set of keys, or has started cracking from sun exposure.
“No big deal,” you tell yourself, “I’ll pick up a cheap DIY leather repair kit on Amazon and get this taken care of!”
Well, you might find that the quality of the repair products aren’t quite what you’d hoped for—but fear not.
We ordered three of the “best leather repair kits” and tested them out so you don’t have to take the risk. Let’s dive in.
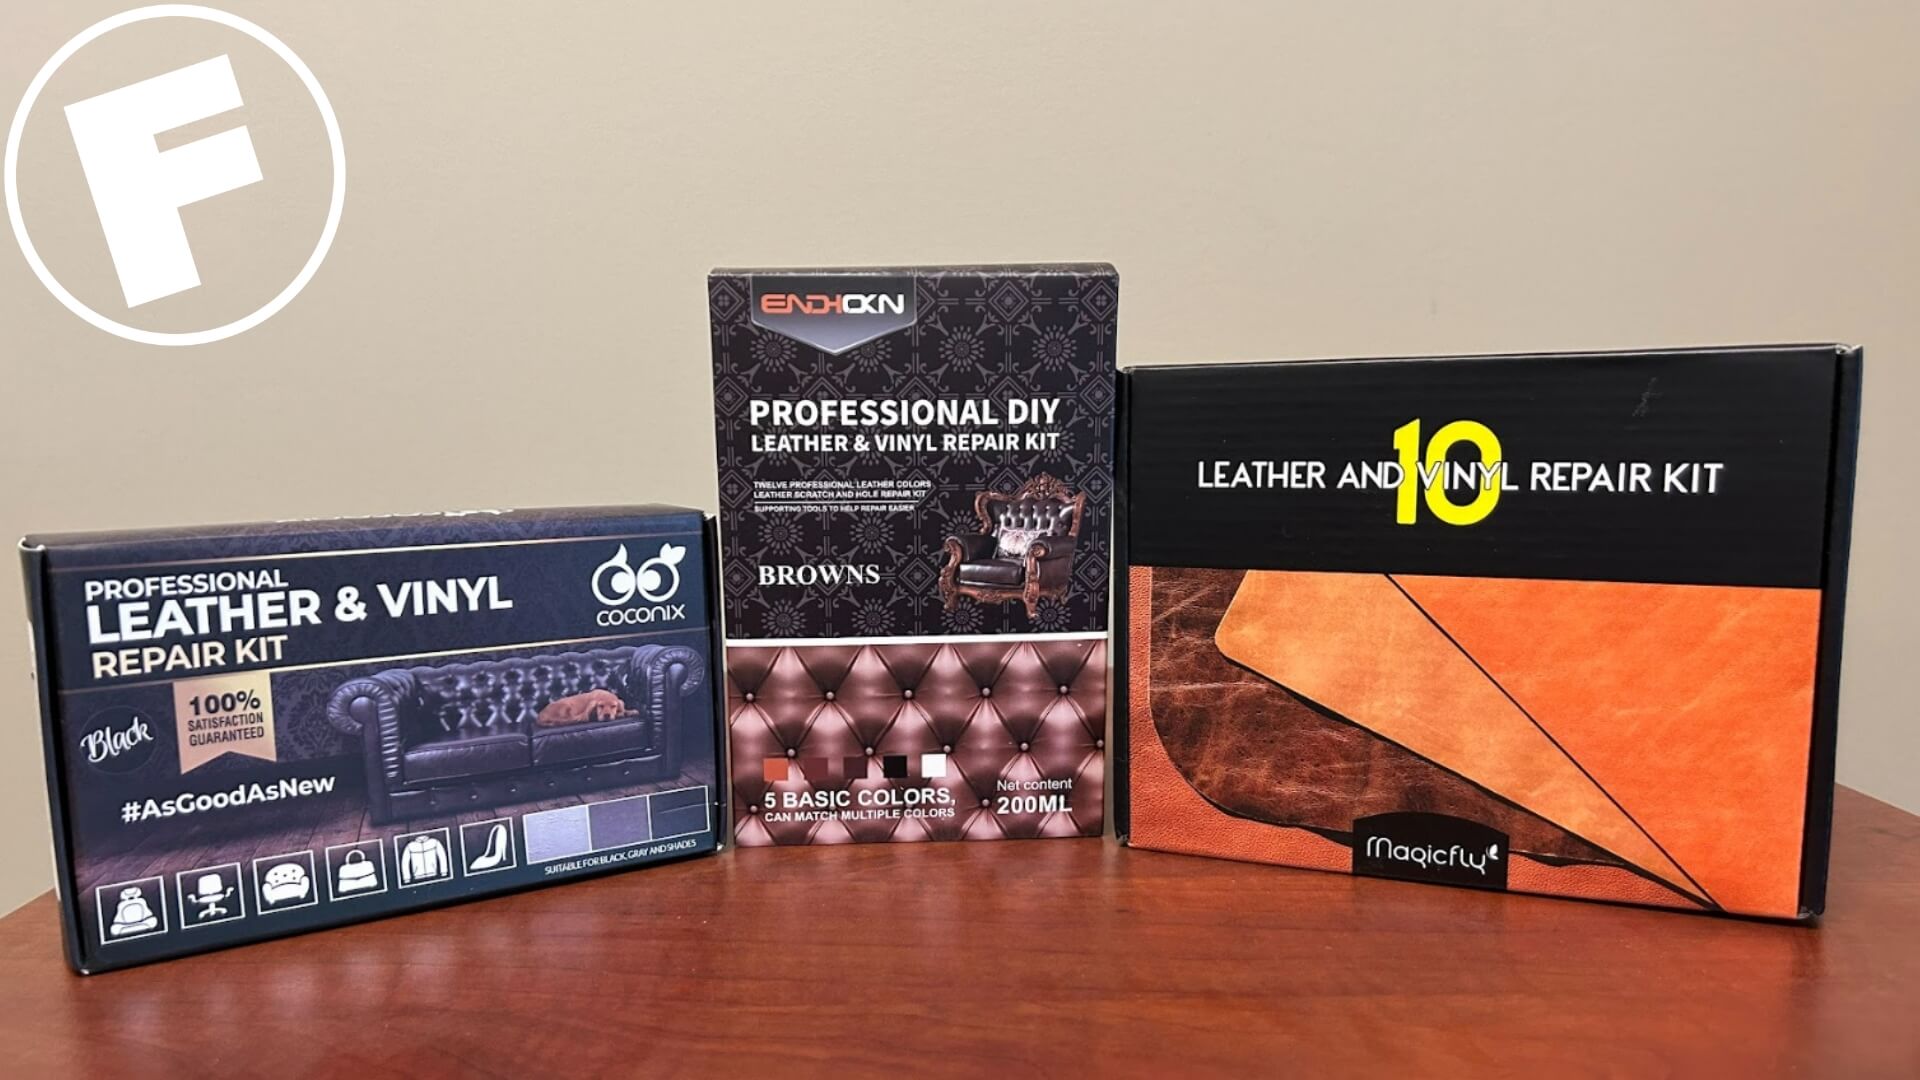
The approach
Let’s first set the stage for what went down.
We took an old, beat-up couch—officially designated as the “test subject” for all future experimentation—and made three equal-sized incisions in one of the back cushions.
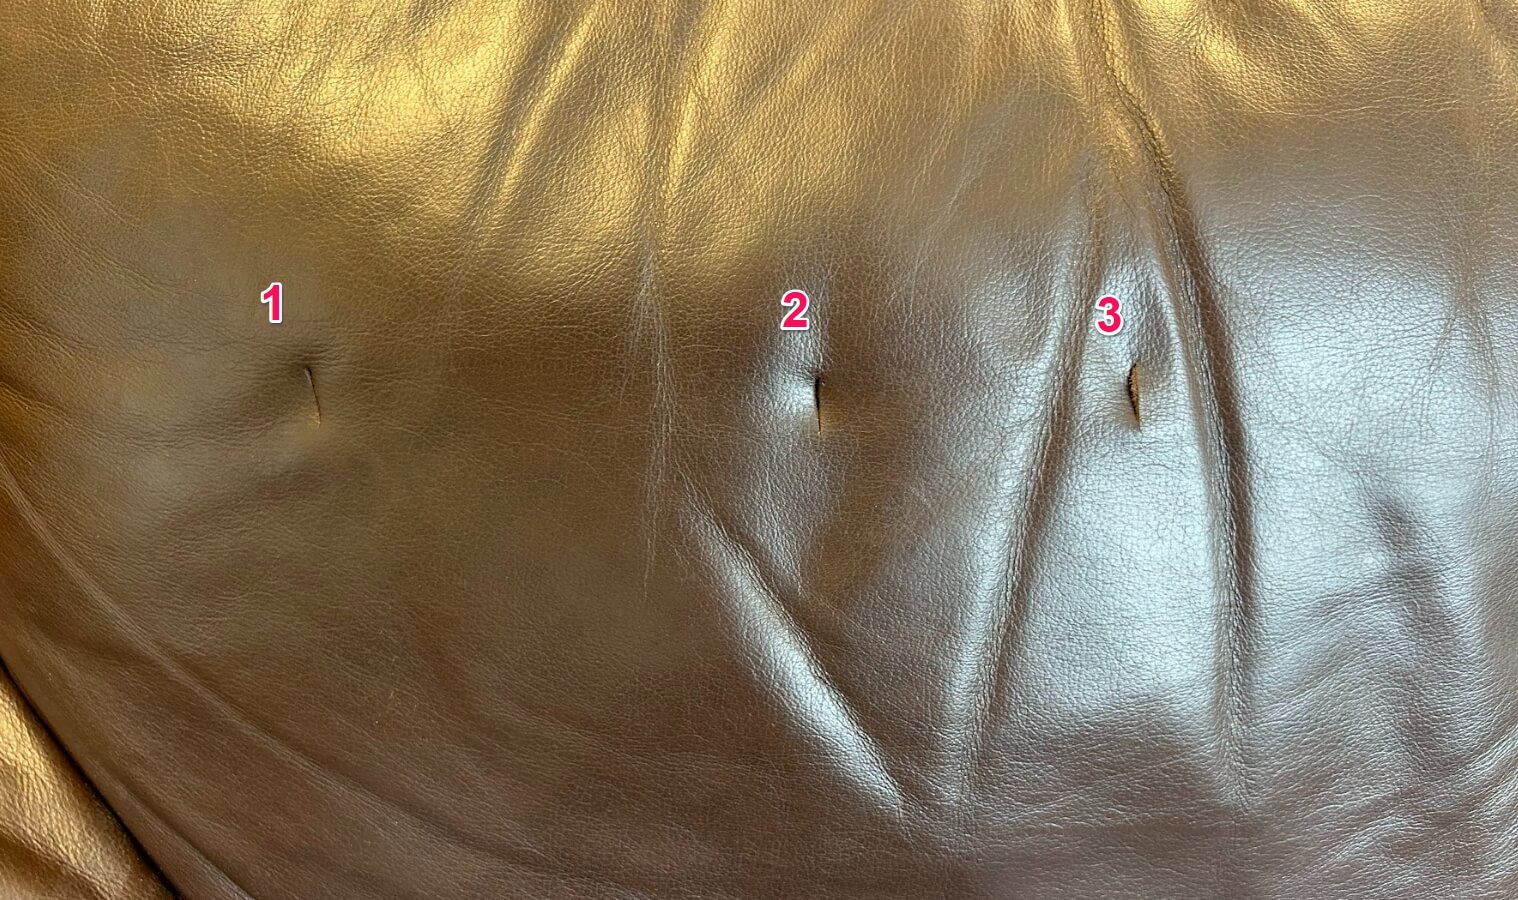
Scientifically-spaced incisions.
We then used each DIY leather repair kit, following the instructions and performing the repairs to the best of our amateur abilities.
Now, as Fibrenew staff, my colleague Ben and I might be able to hold our own in a conversation about the very basics of leather restoration. But make no mistake: We possess none of the practical skills our franchisees do for leather restoration.
That’s why this experiment works.
We’re using these products with the exact level of skill and experience as would anyone buying and using them for the very first time. Your personal experience will closely mimic what you’ll see throughout this article.
We did notice that with each repair, we became more adept and discovered more effective techniques–but this isn’t necessarily a good thing. If you have only one shot–your first try–to perform the repair, having a few practice runs under your belt isn’t an option.
How DIY repair kits (basically) work
For best effect, use a leather cleaner and conditioner on the upholstery first. Identify the rips, scratches or tears on the leather furniture that you’ll be repairing, and get ready to dive in. Bear in mind that these reapir kits are not well-suited for actual leather products, but moreso for faux leather and other adjacent types of leather.
They are essentially “leather filler” that uses a repair compound to fill in in crevices, scuffs and cuts.
Each kit comes wioth a custom color guide that really takes some work to perfect (see below). The leather seat we were working on is dark brown, so we just stuck with the closest to that in most cases.
Check out the video below for a quick and (very) basic run-down on the steps involved with DIY leather repair.
Here’s what you do:
- Cut a piece of the provided backing fabric larger than the damaged area. Make sure it has rounded edges so it inserts cleanly.
- Push the backing fabric into the opening with the provided plastic spatula.
- If the color matches right out of the bottle, then squeeze the filler compound directly over the damaged area to fill it in. If you had to do any color-matching, apply the compound using a combination of the spatula and brush to apply.
- Smooth out the compound to conceal the repair to the best of your ability.
Here’s the thing: With such limited tools and materials, concealing the repair to a point where it doesn’t stick out like a sore thumb is hard AF for someone who has never done it before. A high-quality repair is a tall order.
And thus, our journey begins.
Judging criteria
We’re gonna keep it reasonably simple with judging because what anyone is after with these DIY kits is something simple and effective.
We will judge each kit–for a total of 30 possible points–on:
- Color-matching accuracy
- Ease of use, and
- Final result
Enough blabbering… onto the judging!
Magicfly
Magicfly’s leather repair kit has a 4-star rating on Amazon and retails for around USD $25 (CAD $31).
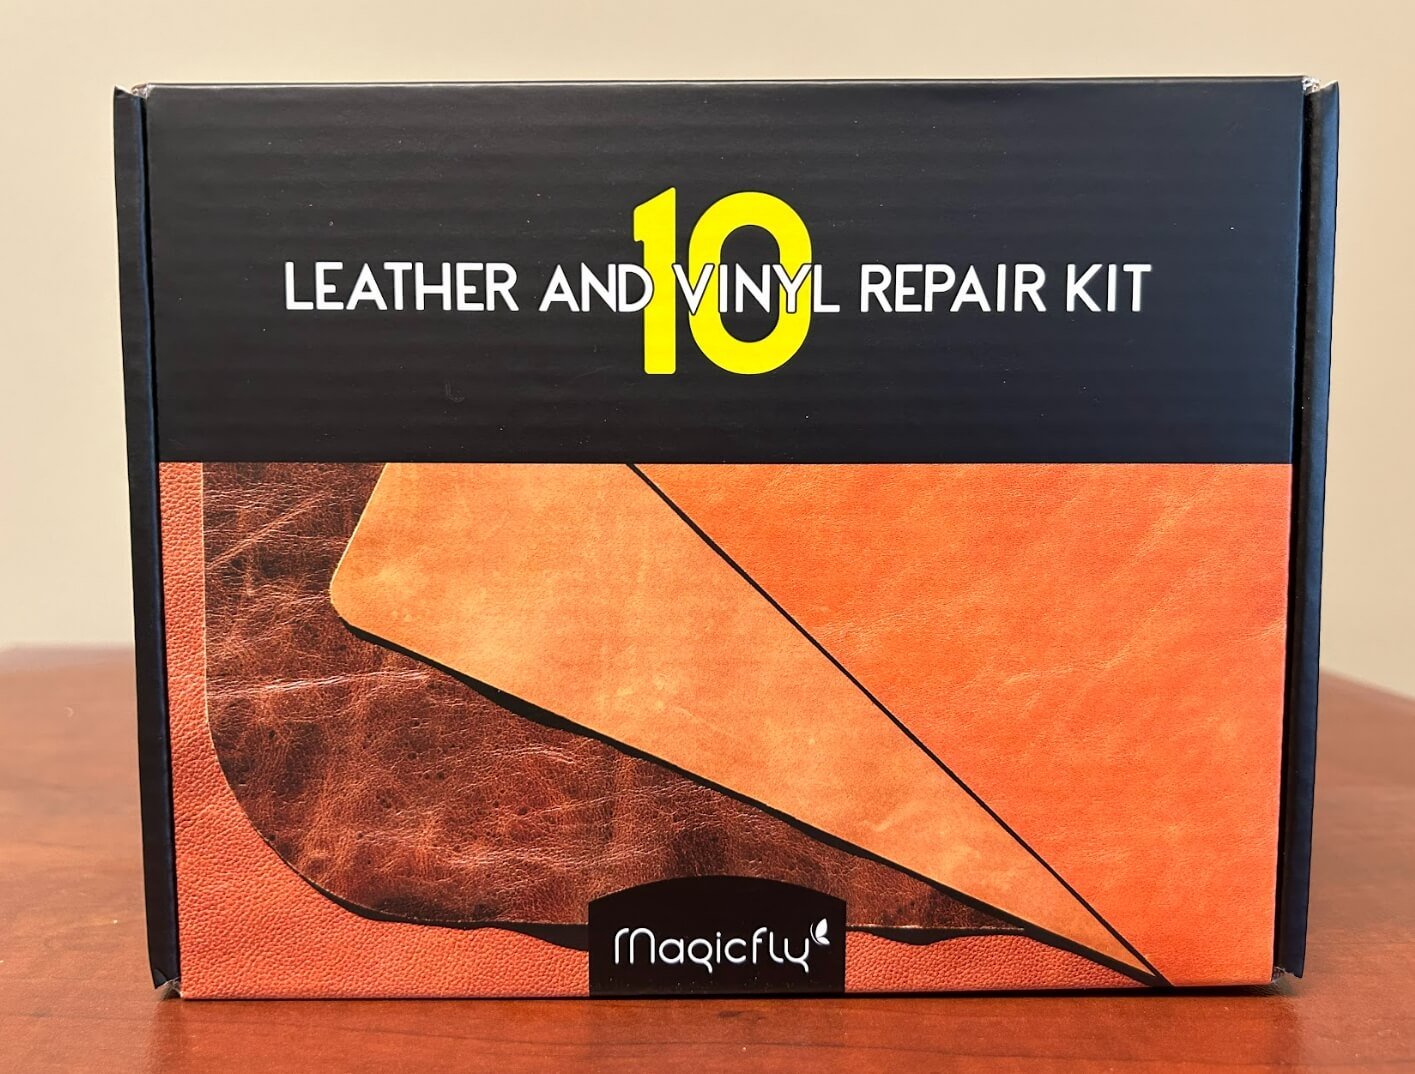
We started with Magicfly because it has the most robust range of colors.
The box contained ten tubes of colored compound, a large sheet of burlap backing fabric, a color mixing tray, a brush, and a plastic spatula.
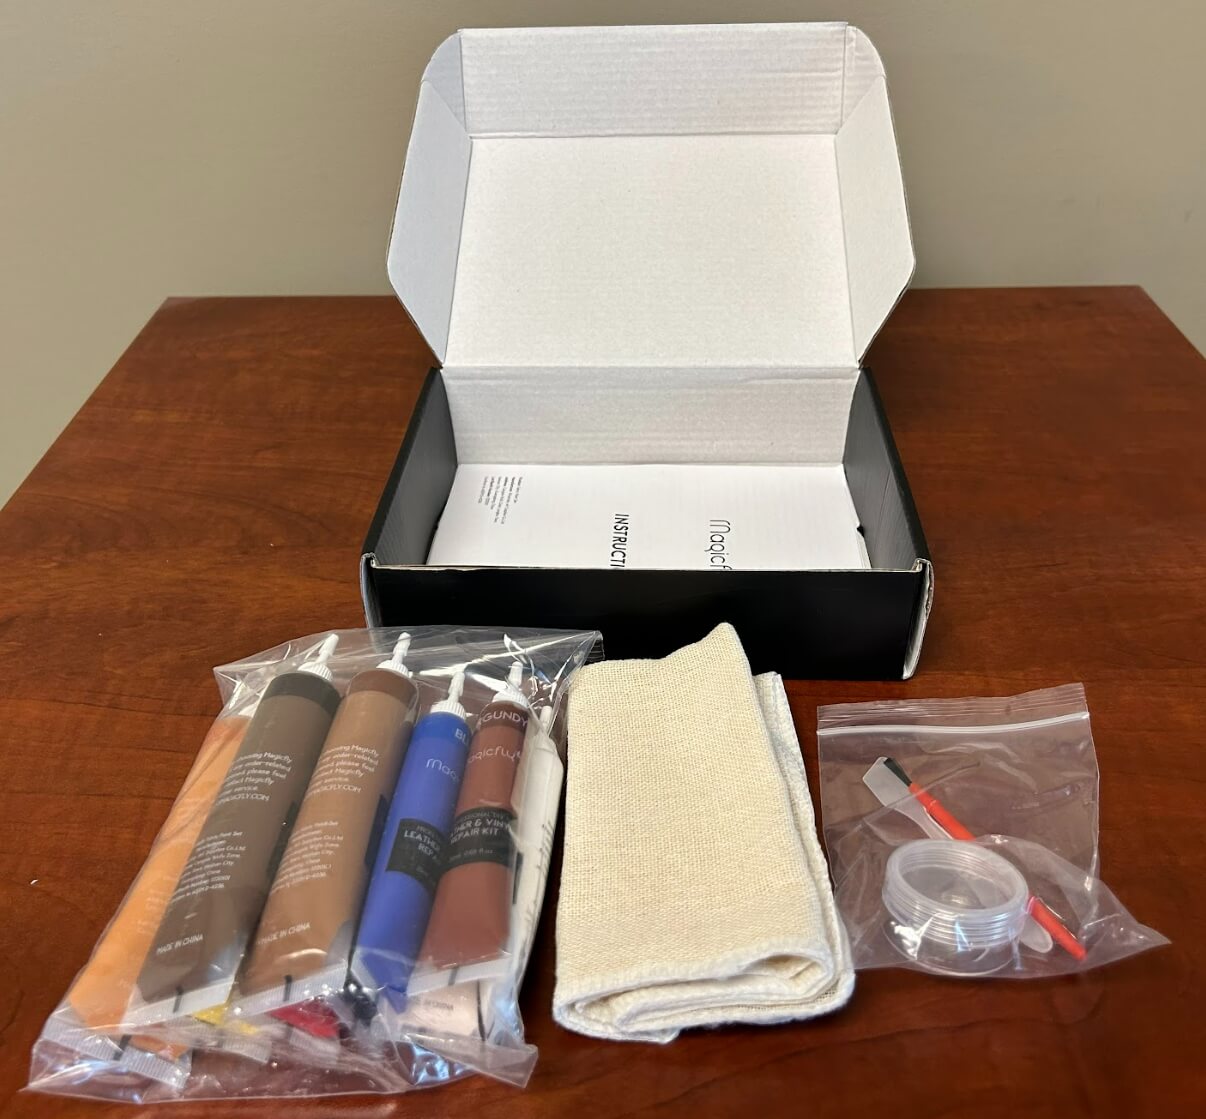
This, at first, seems like a feature. But to the untrained eye and someone who has never finely tuned a mixture of different colors before (and without a Coloreye, of course), finding the exact color becomes an exercise in frustration.
The color matching grid within the instructions only made it more unclear:
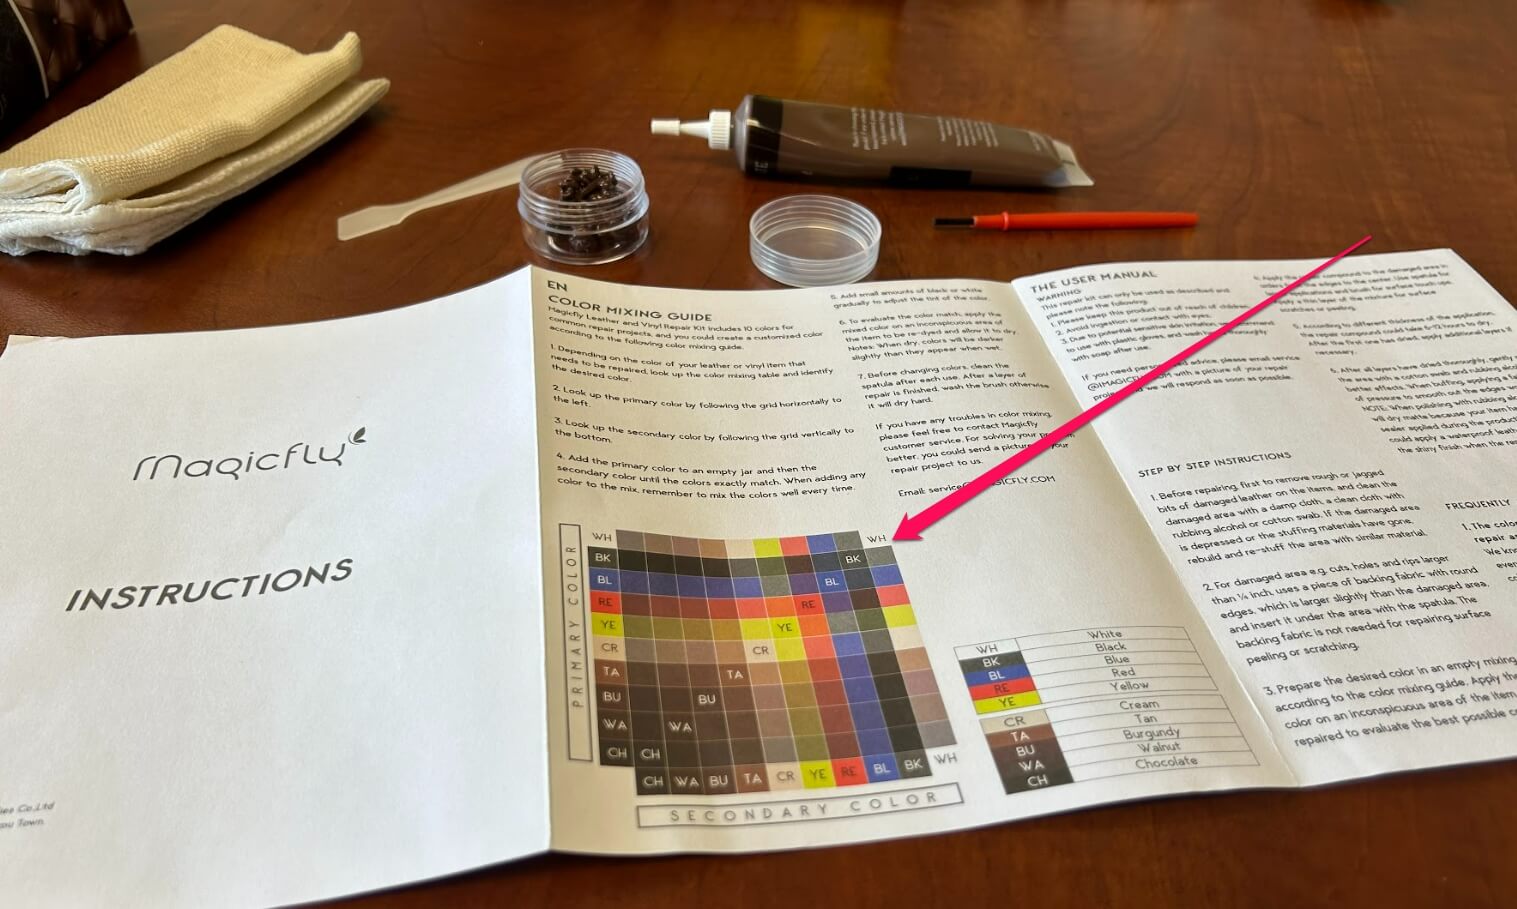
Red = red. Got it.
Nonetheless, faced with tremendous adversity, we did not lose faith in our ability to correct this injustice against leather sofas the world over.
So, we tried….
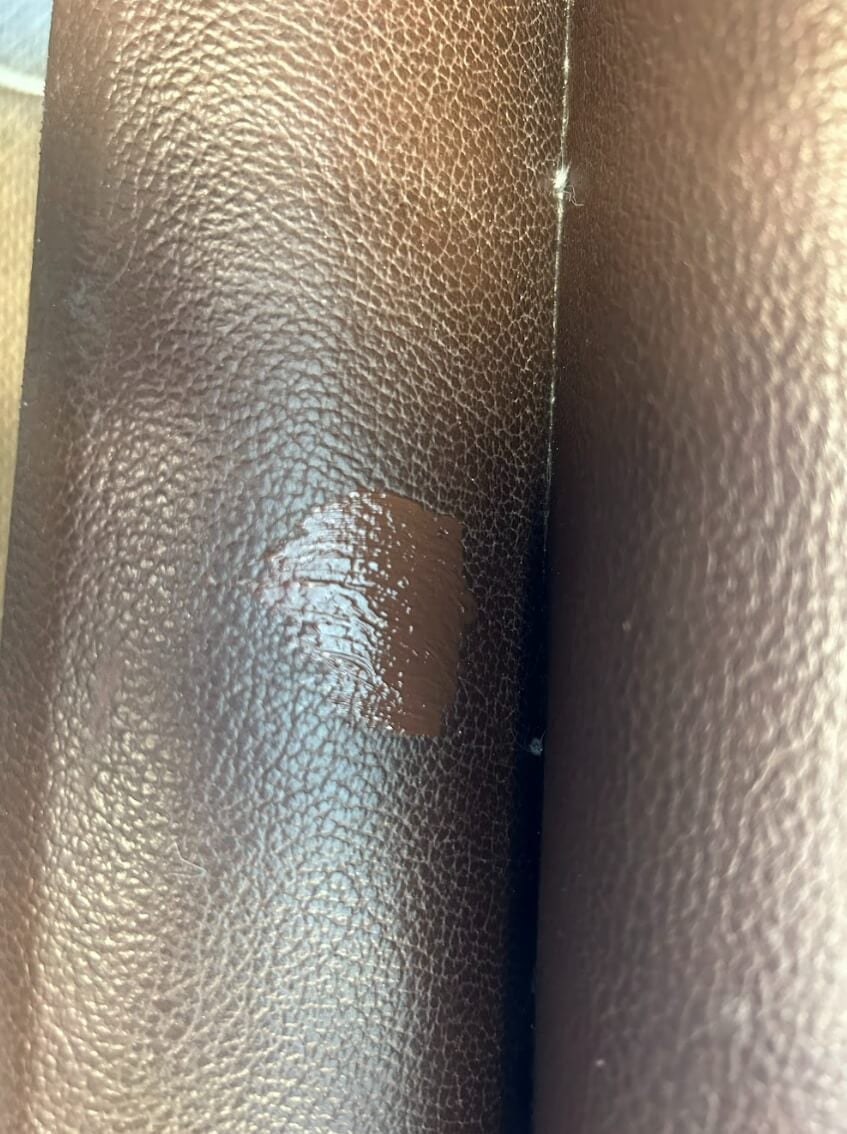
And tried.
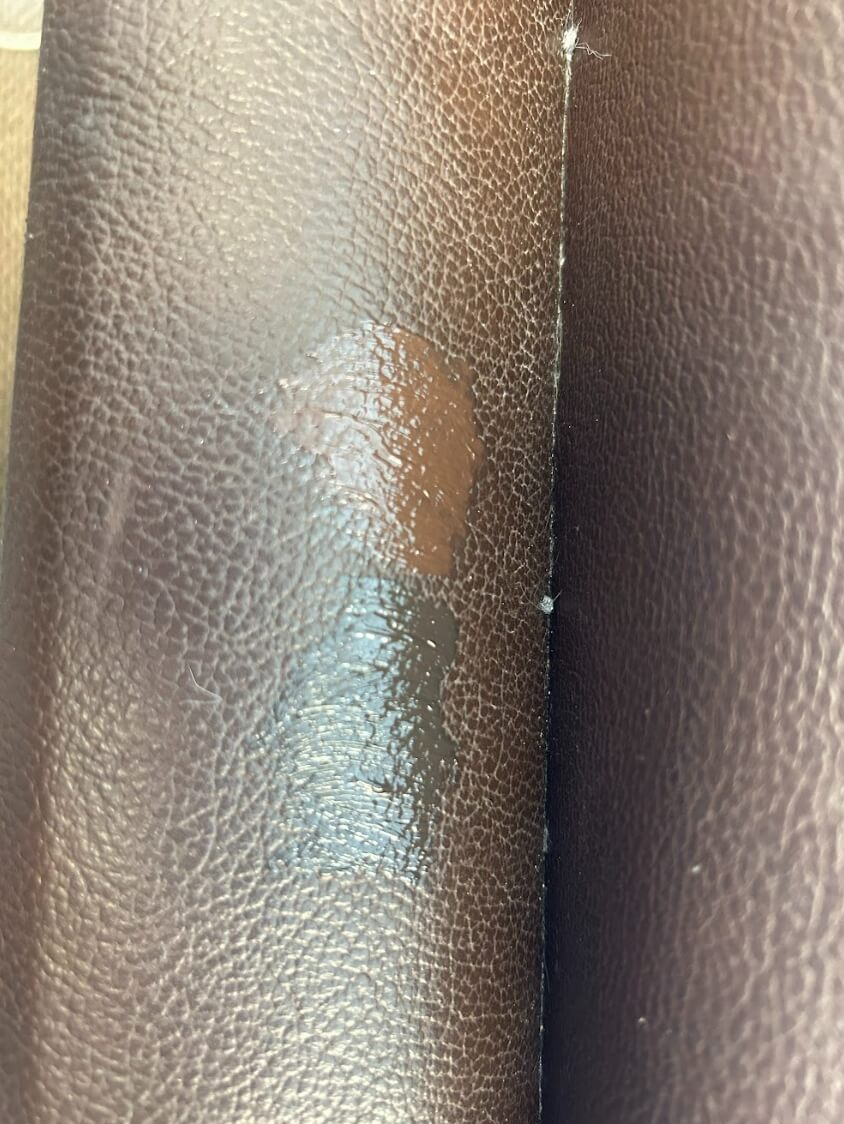
And tried….
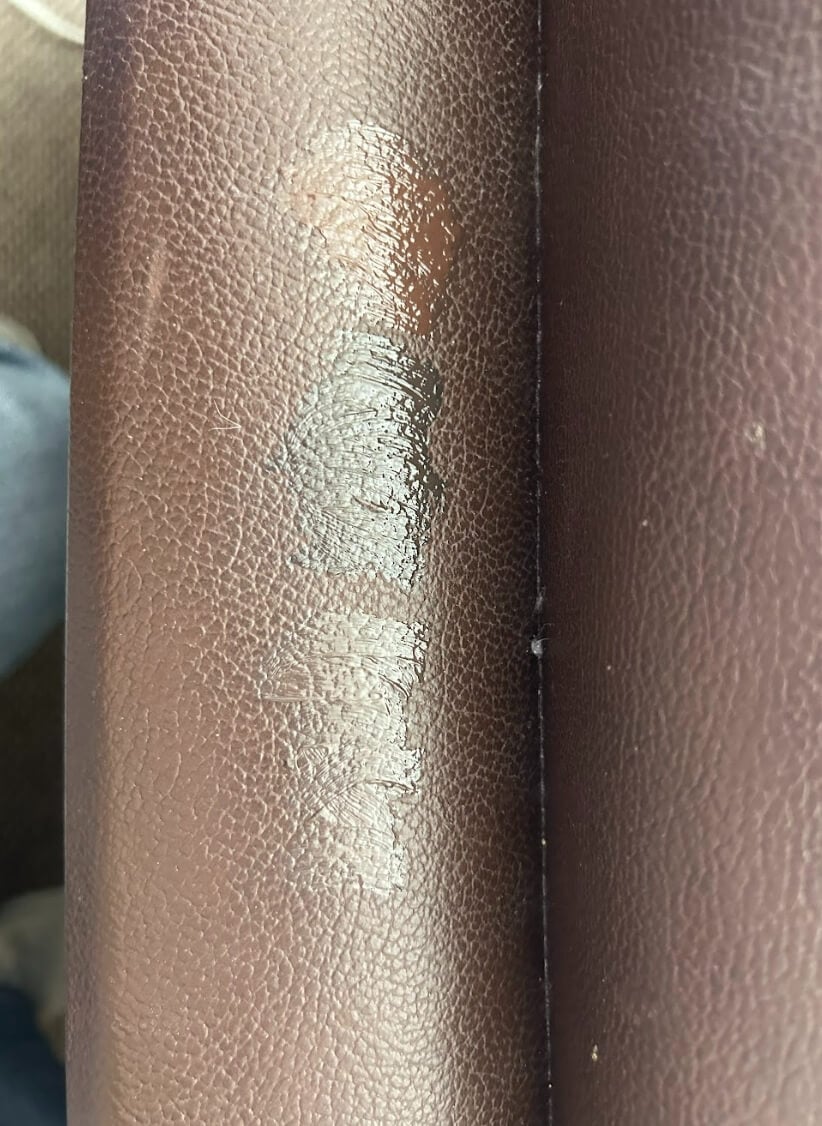
And TRIED.
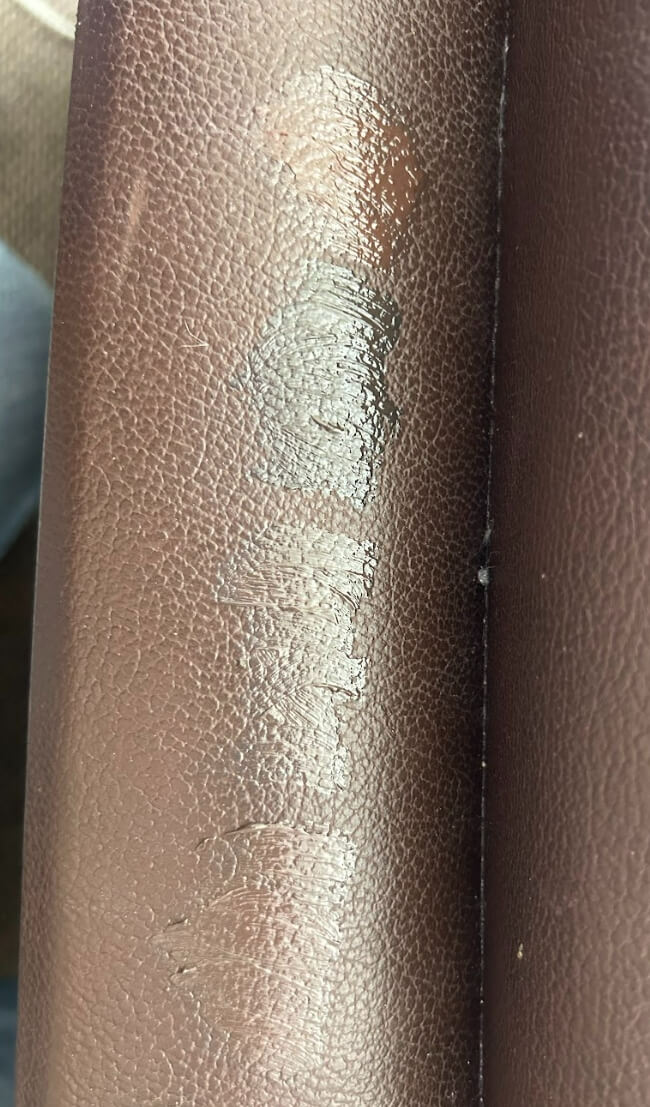
Until we were finally forced to accept our predicament. This was going to be a classic case of color-blinded injustice, and there was nothin’ we could do about it.
We decided we should just use the standard “chocolate” color rather than keep messing around mixing colors trying to shoehorn our way into a perfect match.
And then came the hard part.
Well, ok. That part was easy. Inserting the backing fabric made us look like we’d been doing this for years.
It was pretty satisfying, too.
Then came time to apply the compound and actually do the repair. That’s a whole ‘nother story.
And so it all came down to this.
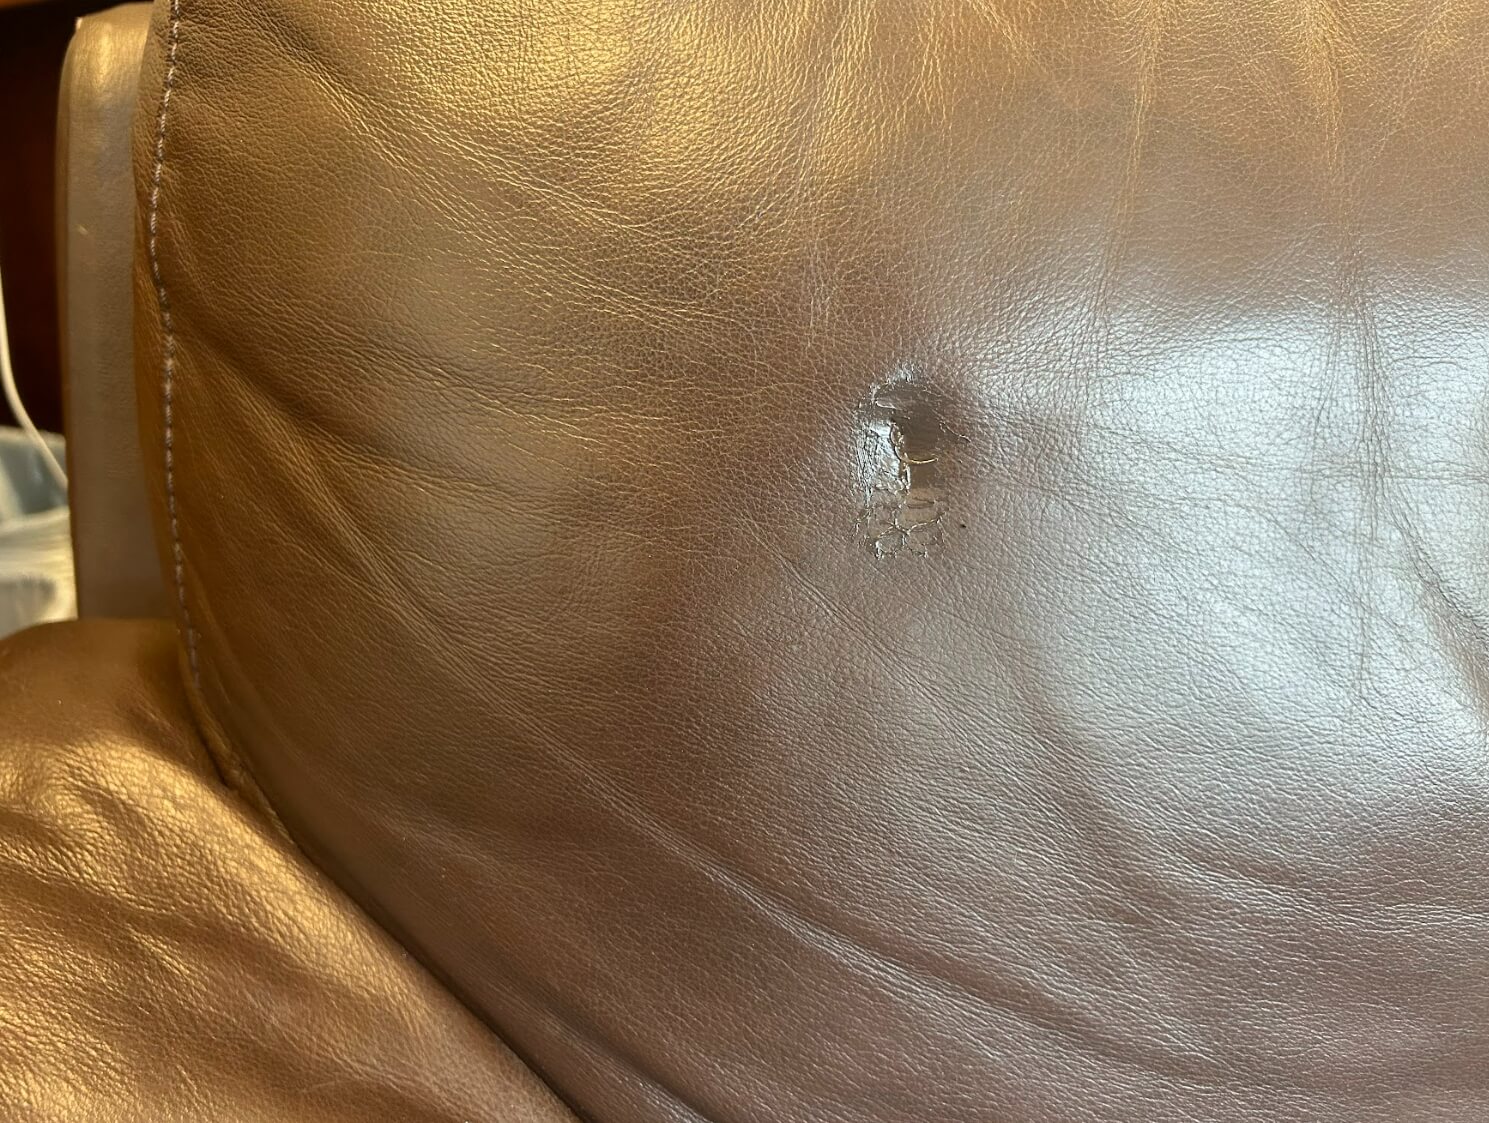
This…. Travesty. This… slight against sofa-kind.
Hey, it was our first try, and you can’t say we didn’t give it our best shot.
The biggest thing is, while the application of the compound would be a breeze should you just be concealing a small abrasion, when you need to actually fill in a crevice, things get much more complex for the untrained hand.
Final thoughts on Magicfly were that even with a more diverse color palette, it made it harder for someone who hasn’t matched colors for leather before. It was easy enough to use, but the final result was proof of the color confusion, the limited basic tools, and opposite of user-friendliness for beginners.
Magicfly Score:
Color match: 5/10
Ease of use: 7/10
Final Result: 2/10
Total: 14/30
Endhokn
Endhokn. That’s right. Say that ten times fast.
Here’s the box.
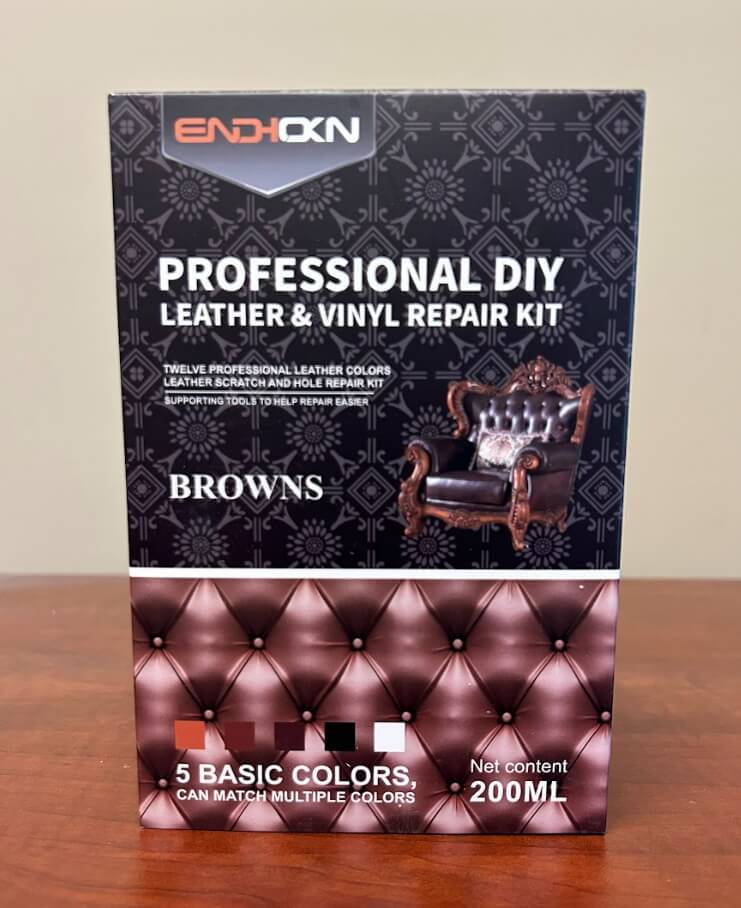
Endhokn came with a more pointed and focussed five tubes of color compound and a color-matching grid guide that looked very familiar–albeit a little bit easier to digest than Magicfly’s.
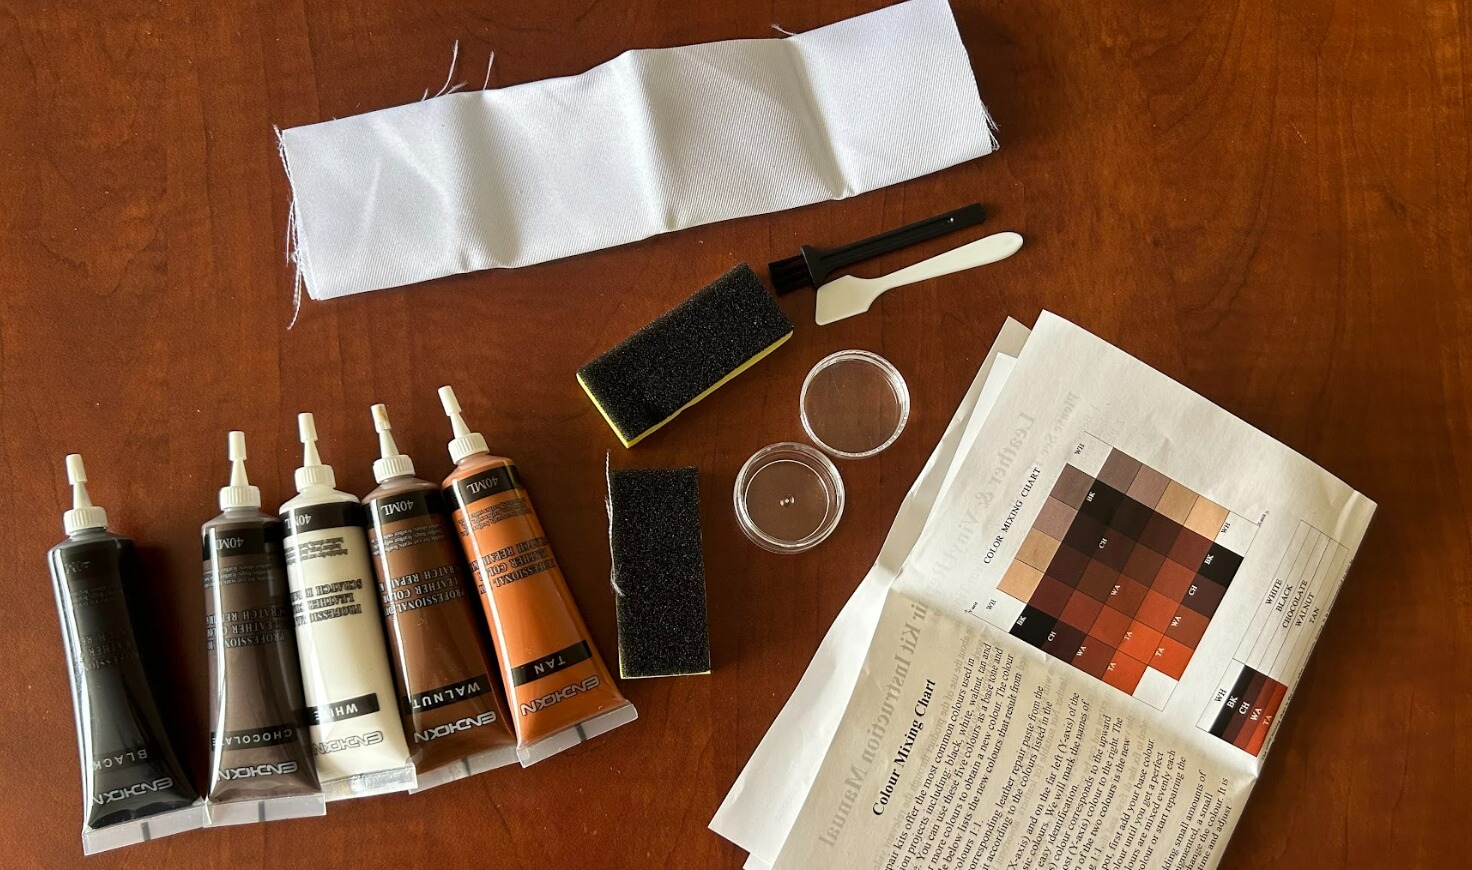
The biggest difference with the contents of Endhokn’s leather repair kit is that the backing fabric is much more rigid. It’s almost like tough nylon. Plus the addition of two sponges. One of these would turn out to be a great asset, the other a catastrophe.
I’ll let this video of Ben trying to insert the backing fabric speak for itself:
We also had the same difficulty with color matching as we had with magicfly, and decided to just go with a single color once again for simplicity.
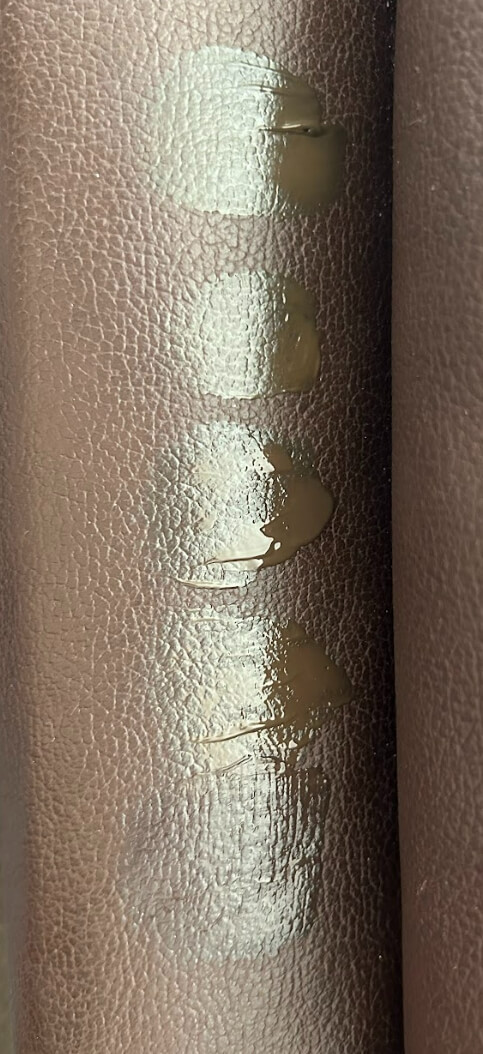
Now, this time around, we had had the benefit of a practice run. So the repair went much more smoothly. We applied the compound directly from the tube into the crevice, and the used the sponge to fill and smooth it out.
The result was quick and miles better than our previous attempt. We can attribute this to:
- We had practice.
- The sponge was MAGIC.
Here’s how it looked:
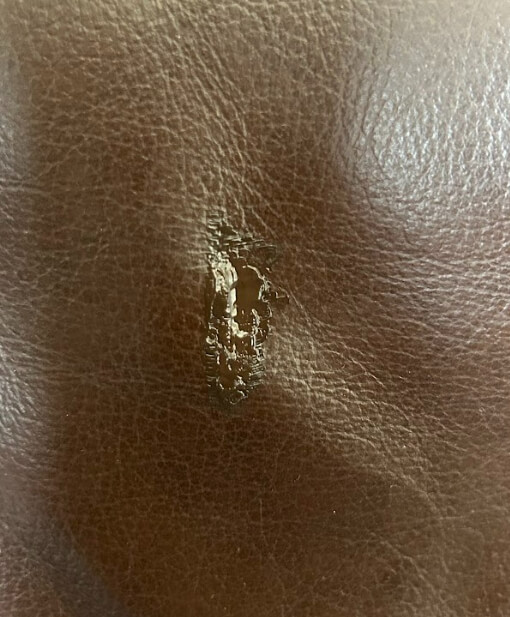
And then dried (nowhere near perfect, but much better than our first attempt):
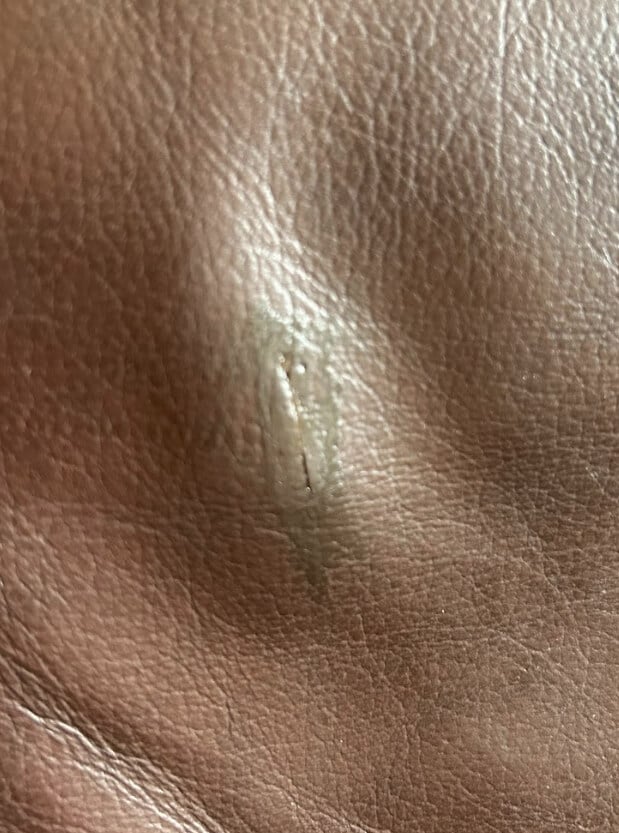
Some minor touchups to fully fill in the crevice, and the repair was complete.
Onto the scoring!
Honestly, the sponge was Endhokn’s saving grace. I’m clueless as to why none of the other repair kits include that as a compulsory tool.
Color match: 4/10
Ease of use: 8/10
Final Result: 5/10
Total: 17/30
Coconix
Last but most least, Coconix.
I’ll be completely straightforward here. This is the most limited of the three kits we ordered, and we’ve basically demonstrated by this point that once you’ve used one, you’ve essentially used them all.
There’s not much I can say now that wouldn’t just be me describing the contents and rewording what I’ve already said.
The biggest thing is that we must have received the wrong product, because we only had black and white colors…. Which was a bummer.
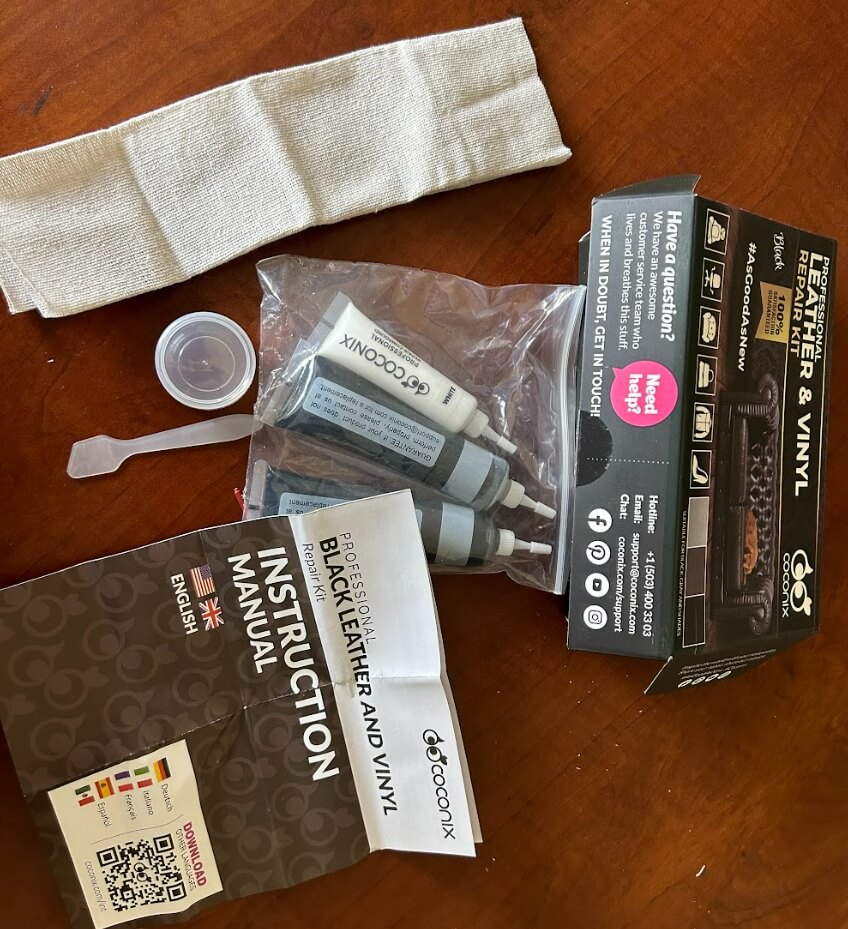
So, I’ll let the pictures tell the story and then onto the final scoring!
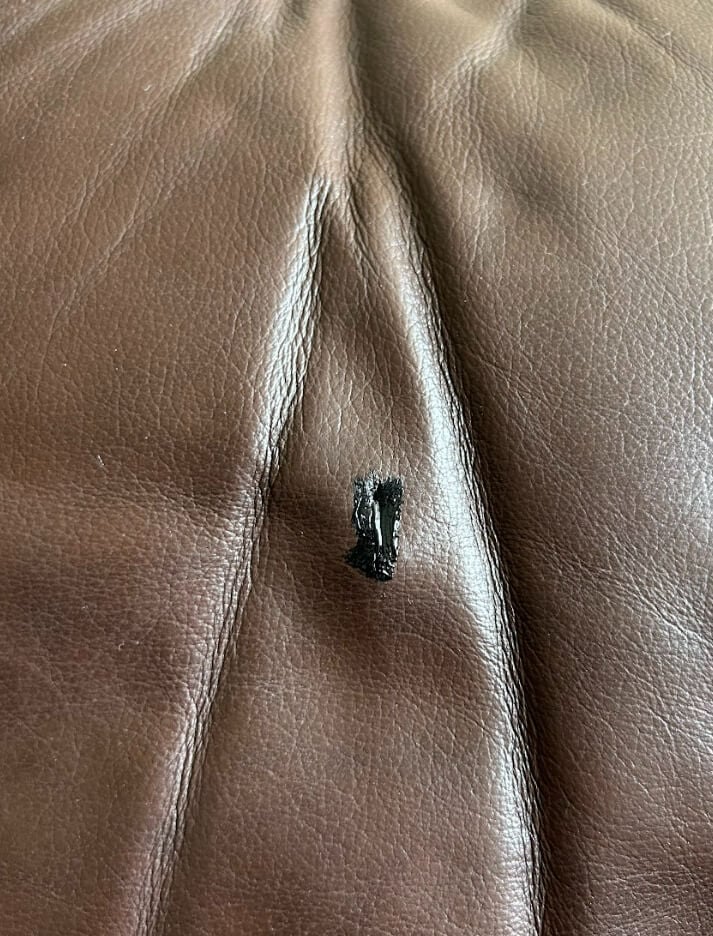
Color match: 0/10
Ease of use: 5/10
Final Result: 3/10
Total: 8/30
Final thoughts….
Well, folks, I’ll state the obvious:
If you truly care about the item in need of leather restoration, trust a professional to get the job done perfectly.
Check out Fibrenew’s constantly-updated photo album for examples of our franchisees’ outstanding work.
And then gaze upon the results of our DIY leather repair kit experiment:
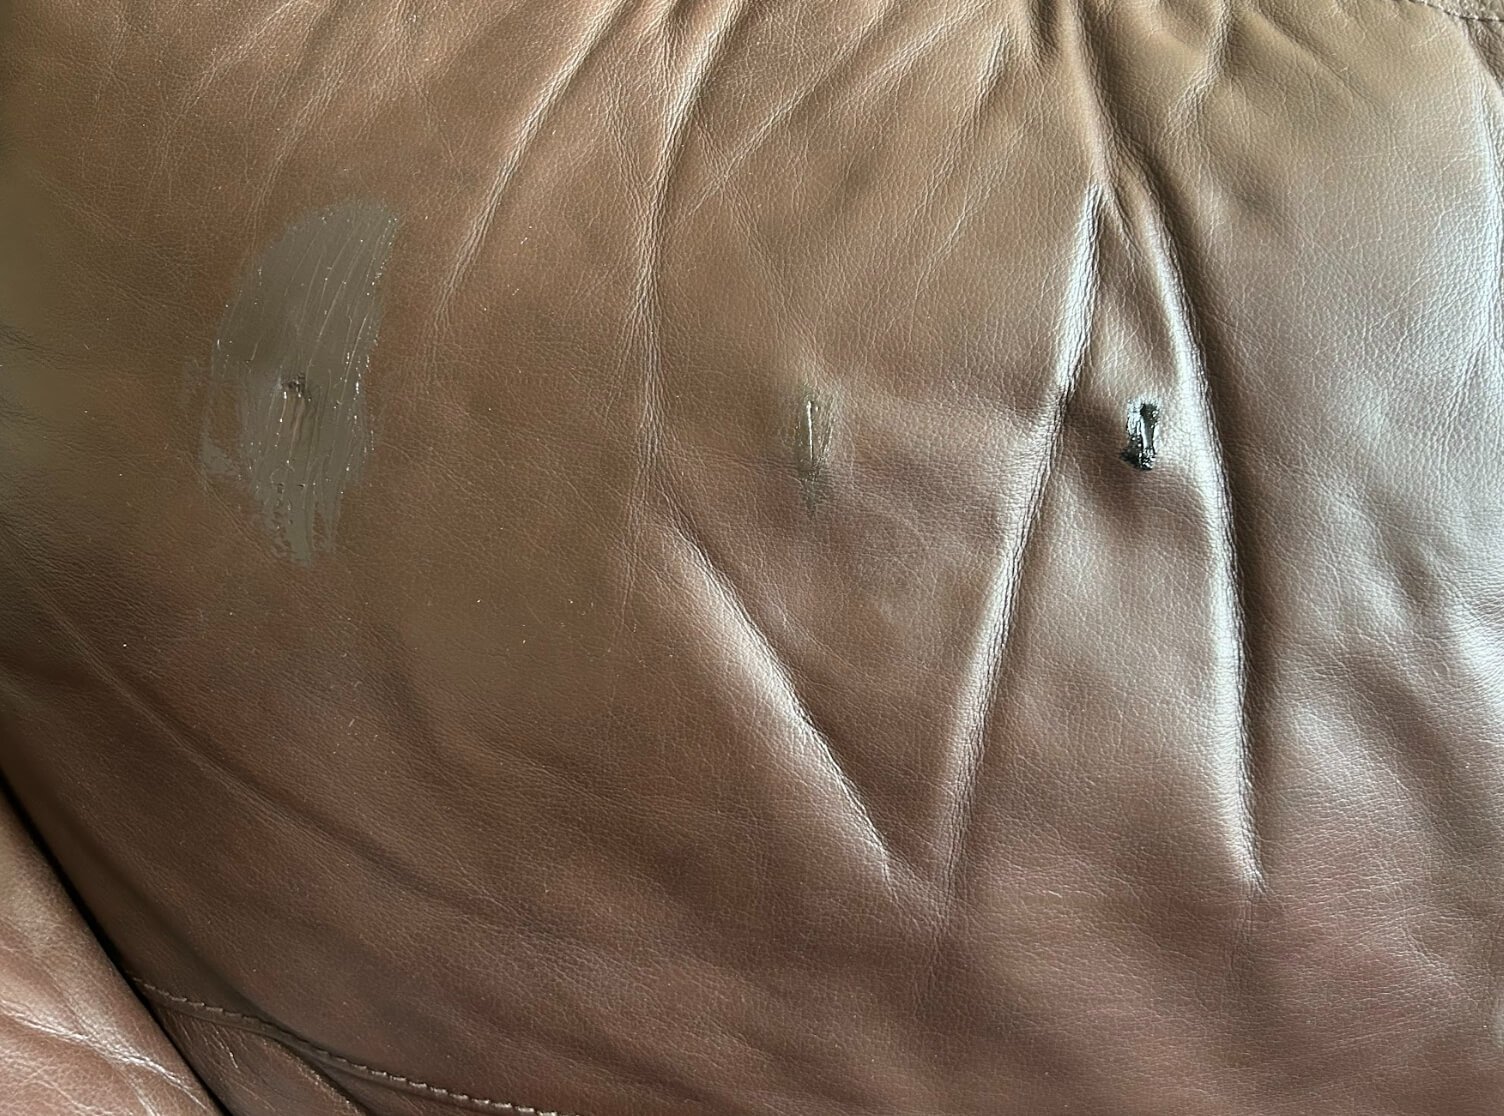
Don’t mind the overly enthusiastic failed attempt at correcting the original repair (left).
Catch you next time!
Get in touch with your local Fibrenew professional for all your leather, plastic, and vinyl repair needs.
Want to run a business that gives you incredible earning potential and the flexibility to take control of your time and life? Join the Fibrenew Family!
Check out our free Franchise Information Report for everything you need to know.
Also, enjoy these valuable resources on all things leather, plastic, and vinyl repair, franchising, sustainability, and more:


