DIY Tips: How to fix scratches in leather
One of the most common problems with leather furniture is scratching. Fortunately, surface scratches on leather are usually pretty easy to fix—and sometimes, leather care includes getting your hands dirty.
Let’s go through some DIY leather scratch repair basics on your favorite leather sofa.

The highest-quality leather furniture is fully finished leather that does not scratch easily. Its surface coating prevents minor surface scratches, often a problem on less durable types of leather, like semi-aniline or aniline.
If you experience minor scratching on your aniline leather couch or (or other furniture), you can use the following information to fix the problem. If your fully-finished or semi-aniline leather has been scratched, it’s likely the deep scratches are too much for these techniques to be effective, and you may need to call a leather repair professional.
Note: The instructions below apply to most types of leather, but it’s important to understand that different leathers are typically used for car seats, couches, sofas, boots, etc.
Remember to avoid using products like olive oil, shoe polish, nail polish remover, window cleaner, and others with abrasive chemicals that could cause further harm to the leather. Let’s Dive in!
Why does leather scratch so easily?
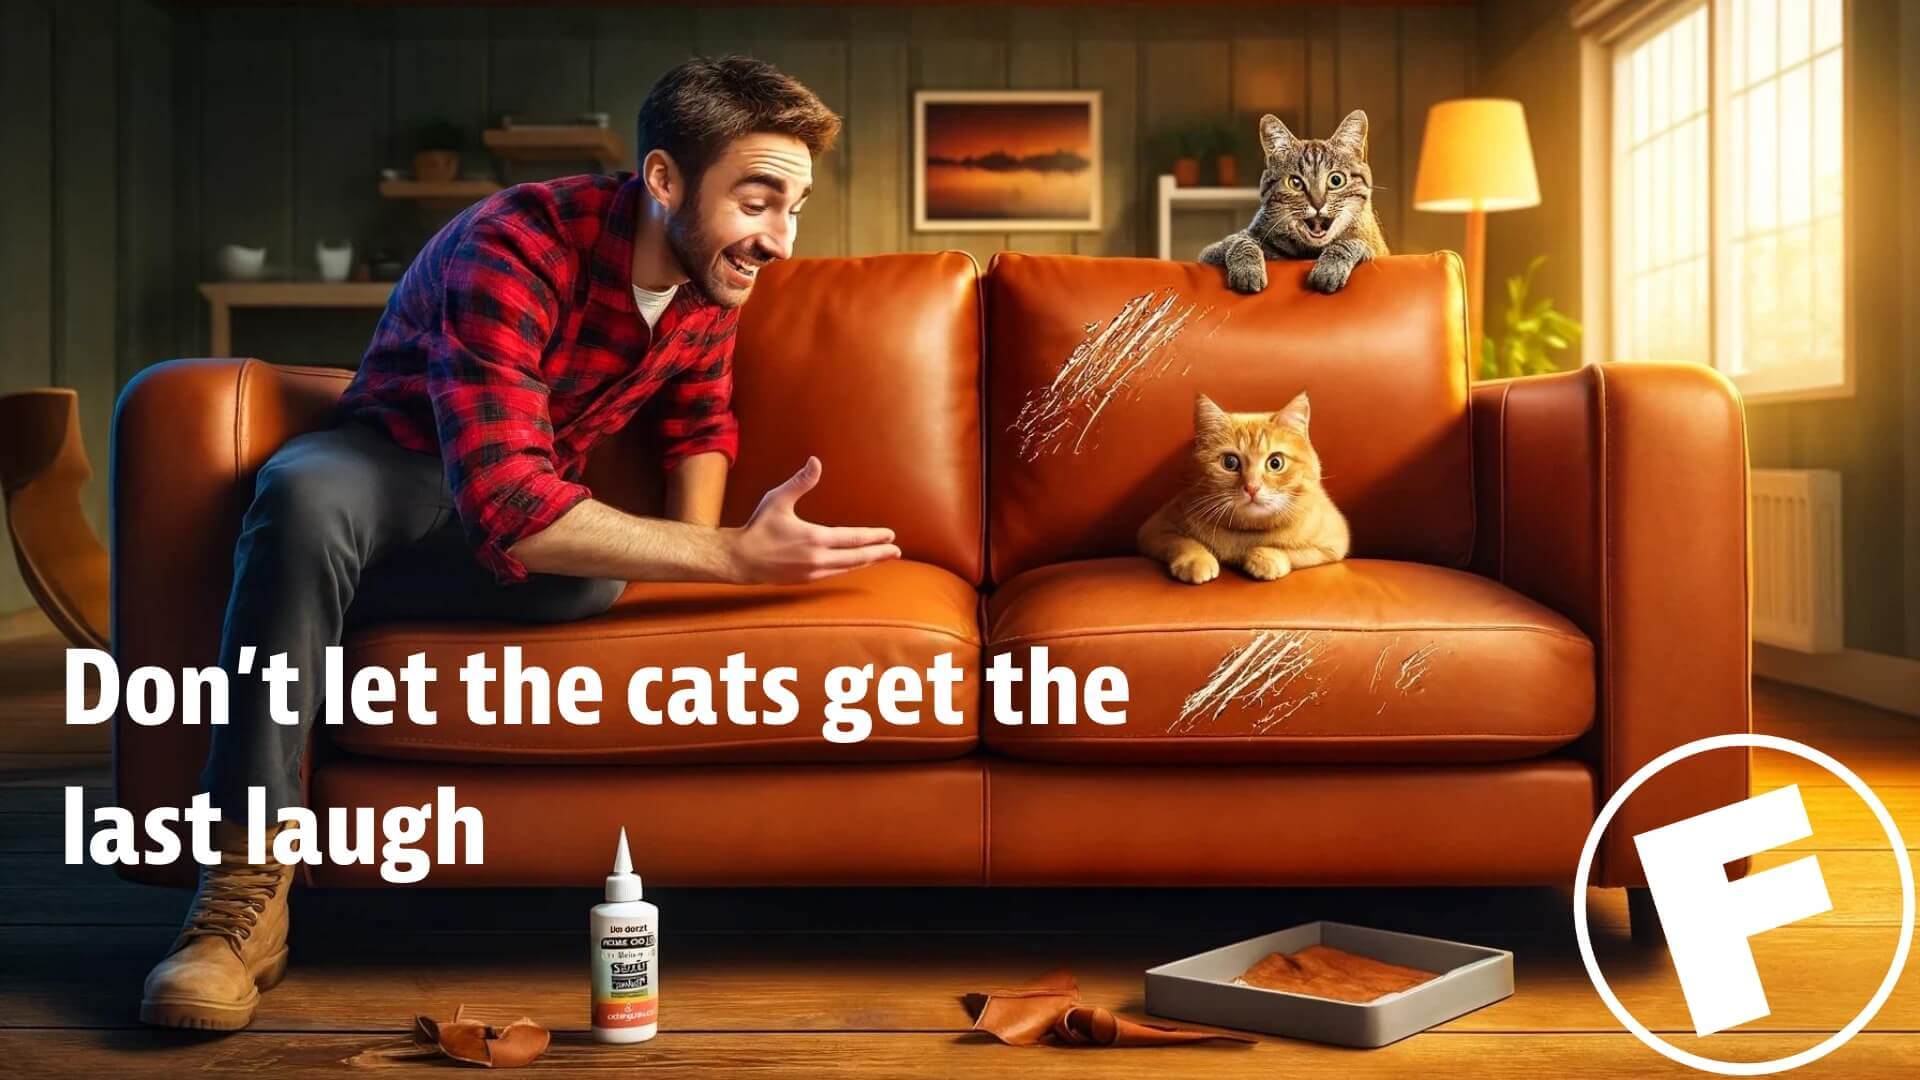
Leather, though prized for its durability and luxurious feel, is prone to visible scratches due to its organic composition and the nature of its surface. Those cat scratches can really do a number—fast.
Firstly, leather is derived from animal hides, which inherently contain natural irregularities such as wrinkles, pores, and scars. These imperfections create vulnerable spots on the leather’s surface, making it more susceptible to scratches.
Additionally, the tanning process, which involves treating animal hides with chemicals to preserve and strengthen them, can alter the natural structure of the leather, further compromising its resistance to scratches.
Secondly, leather’s surface is relatively soft and pliable compared to other materials, making it more prone to abrasions. Leather can quickly develop scratches when subjected to friction or pressure, such as from rubbing against rough surfaces or contact with sharp objects. Unlike more complex materials like metal or plastic, leather lacks the hardness to resist scratches effectively. Even minor contact with sharp objects like keys or metal zippers can leave visible marks on the leather surface.
“Leather, though prized for its durability and luxurious feel, is prone to visible scratches due to its organic composition and the nature of its surface. So those cat scratches can really do a number—fast.”
Lastly, the finish applied to leather can also impact its susceptibility to scratches. While some finishes, such as aniline or semi-aniline, preserve the natural texture and grain of the leather, they offer minimal protection against scratches.
In contrast, heavily pigmented or coated finishes provide a more durable barrier against scratches, but they may sacrifice the natural look and feel of the leather. Regardless of the finish, regular wear and tear can gradually wear down the protective layers, leaving the leather more vulnerable to scratches.
Proper care and maintenance, such as avoiding abrasive surfaces and applying protective coatings, are essential for preserving the appearance of leather and minimizing the visibility of scratches.
How to fix leather scratches
Fixing scratches on leather furniture requires careful attention and suitable materials. Here’s a quick guide, along with the necessary materials and additional tips.
Materials Needed:
- Leather cleaner: Choose a cleaner specifically formulated for leather furniture.
- Leather conditioner: Helps to restore moisture and flexibility to the leather.
- Fine-grit sandpaper (optional): The surface must be smoothed out for deeper scratches.
- Leather repair kit: Contains color-matched leather filler, applicator, and finish.
- Soft cloths or applicator pads: For applying cleaner, conditioner, and repair solutions.
- Protective gloves: To protect your hands during the repair process.
Step-by-Step:
- Clean the Surface: Start by wiping down the scratched area with a soft, damp cloth in a circular motion with a leather cleaner. This will remove dirt and grime, allowing you to assess the damaged area better. Use a clean cloth, of course.
- Assess the Damage: Determine the severity of the scratched leather. Minor surface scratches may be easily fixed with a leather repair kit, while deeper scratches may require additional steps.
- Prepare the Surface (for deeper scratches): If the scratches are deep enough to create a noticeable indentation, lightly sand the area with fine sandpaper to smooth the surface. Be gentle to avoid further damage to the high-quality leather.
- Clean the Area: Use rubbing alcohol on a soft cloth to clean the scratched area thoroughly. This will remove any remaining residue and prepare the surface for repair.
- Apply Leather Filler: If your leather repair kit includes a filler, carefully apply it to the scratched area using the provided applicator or a small spatula. Smooth it evenly over the surface, filling in the scratches. Allow it to dry according to the manufacturer’s instructions.
- Color Matching (if necessary): Some repair kits include color-matched solutions to blend the repaired area with the rest of the furniture. You can apply the color-matched solution using the provided applicator, following the instructions carefully to achieve a seamless blend. FYI, Fibrenew has the best color-matching technology in existence.
- Condition the Leather: Once the repair solution has dried completely, dab a leather conditioner on the entire piece of furniture. This will help to restore moisture and flexibility to the leather, ensuring a uniform appearance.
- Buff and Polish: Use a soft cloth to buff the repaired area gently. This will help to blend the repair with the surrounding leather and give the entire piece a polished finish.
Additional Tips:
- Always test any cleaning or repair products on a small, inconspicuous area of the furniture first to ensure compatibility and color matching.
- Please take your time and carefully follow the instructions provided with the repair kit to get the best results.
- Consider consulting a professional leather repair specialist for extensive damage or if you need clarification on handling the repairs yourself.
- Regularly maintain and condition your leather furniture to prevent future scratches and keep it looking its best.
An alternative technique: The hair dryer Hail Mary
This will be your last resort for fixing the scuff or scratching yourself. All you’ll need is a hair dryer for this one.
Directions:
Turn on the hair dryer and use it to warm the surface of the leather where the scratch is. Use your hands to massage the leather gently. This should bring the dyes installed at the tannery back to the surface and reduce the appearance of the surface scratch.
Be careful not to get the leather too hot, or you might burn it!
Let the heat on your hand be the judge—if your hand gets uncomfortably hot, it’s too hot for the leather.
Will the heat hurt leather?
Some sources say using heat on leather will bake and ruin it, and they are correct—too much heat will damage leather. But keep in mind that heat can be good in small doses.
Leather is as strong as human skin, and as long as you use the hand test described above, you shouldn’t have any problems with heat damage.
What if it doesn’t work?
If the scratch is severe, this technique may not work. If heat and massage fail to eliminate the scratch, and even a leather repair kit falls short, you’ll need to call a professional.
Call the Fibrenew pros to save the leather day
Get in touch with your local Fibrenew professional for all your leather, plastic, and vinyl repair needs.
Want to run a business that gives you incredible earning potential and the flexibility to take control of your time and life? Join the Fibrenew Family!
Check out our free Franchise Information Report for everything you need to know.
Also, enjoy these valuable resources on all things leather, plastic, and vinyl repair, franchising, sustainability, and more:
Rock on!


